Show Posts

This section allows you to view all posts made by this member. Note that you can only see posts made in areas you currently have access to.


Topics - xrayengineer

Pages: [1] 2
1
I am just about to start making the cuddy side panels.  I am very confused about some of the steps, they seem to be a bit wordy.

First of all, why do the side panels extend the foot or so aft of the cuddy aft bulkhead.  In the instructions is goes on about leaving them long and letting the angle go wild and trimming to level or slightly level.  Why wouldnt you just stop the cuddy side panel at the cuddy aft bulk head and then start a new side panel for the pilot house lower side panels?

Secondly, fitting and cutting the cuddy side panels seems confusing to me.....

Please tell me if this is the general idea....

Cut blanks at 18" x 80" ( i left mine at 96")
Place blank into slot at Cuddy Aft and Fwd bulkhead
Clamp blank against sheerdeck between bulkheads
Scribe sheerdeck line, trim and replace
Mark top of aft and fwd bulkhead
Draw straight line between two points and cut.
Glue in side panel

Is this the general idea?  Why the 1-1/2" line above and clamps and drilling holes and nails and battens?

Also, as mentioned earlier, why not just cut the side panel flush with the aft bulkhead and start a new one?  My pilot house will be 7' long, so this way I would not have to scab two pieces together.

Please educate me!!!

Jim

2
I am going this week to get the plywood to build the superstructure of the boat  (pilot house and cuddy).  Lets say for the prince rupert model.

 Does anyone have an estimate for how many sheets it will take and the thicknesses?  I was thinking about 10 or 12 sheets should be close.....

3
Projects - Glacier Boats of Alaska boat projects / GA 28 flipped!
« on: November 28, 2012, 04:12:26 PM »
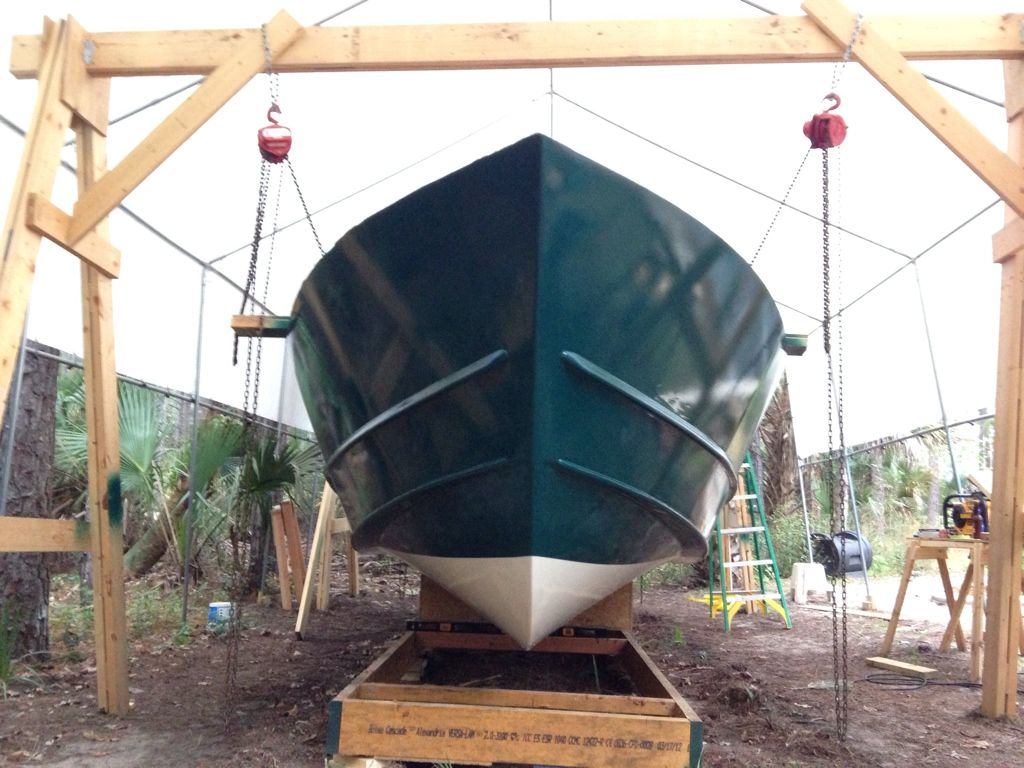
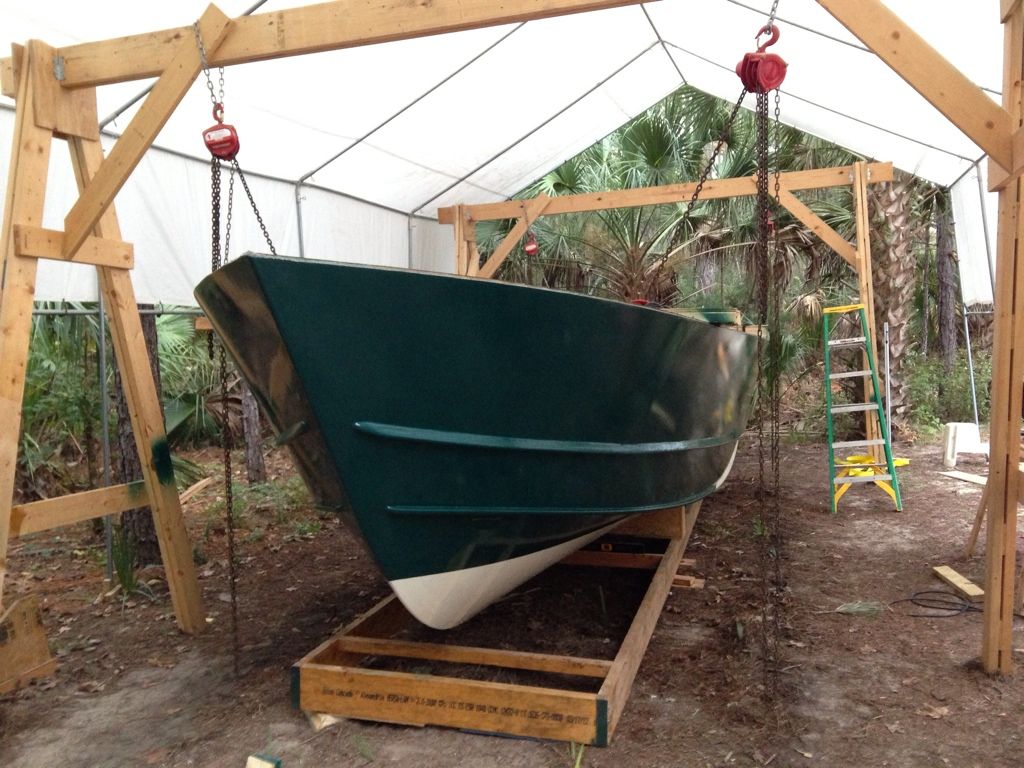
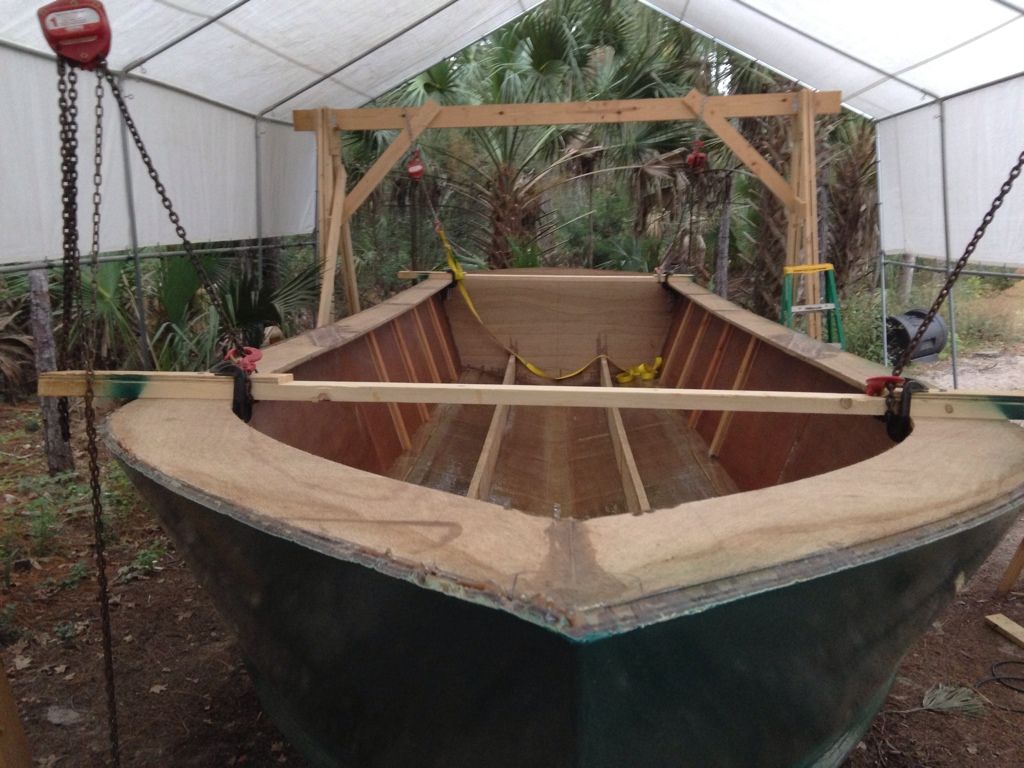
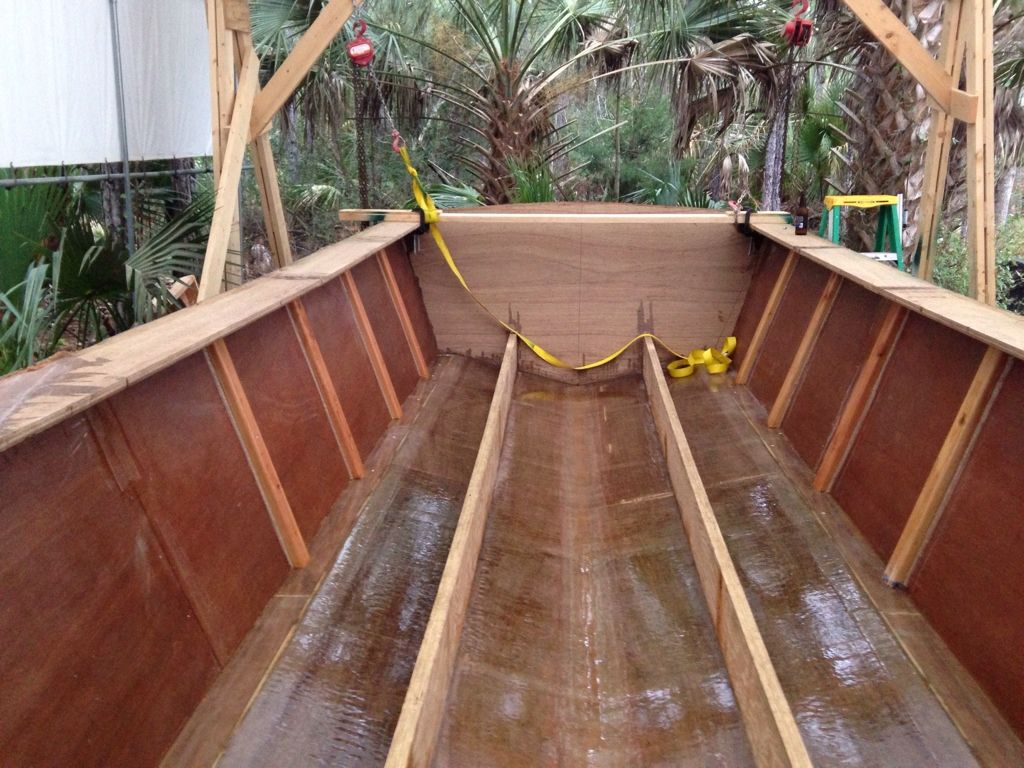
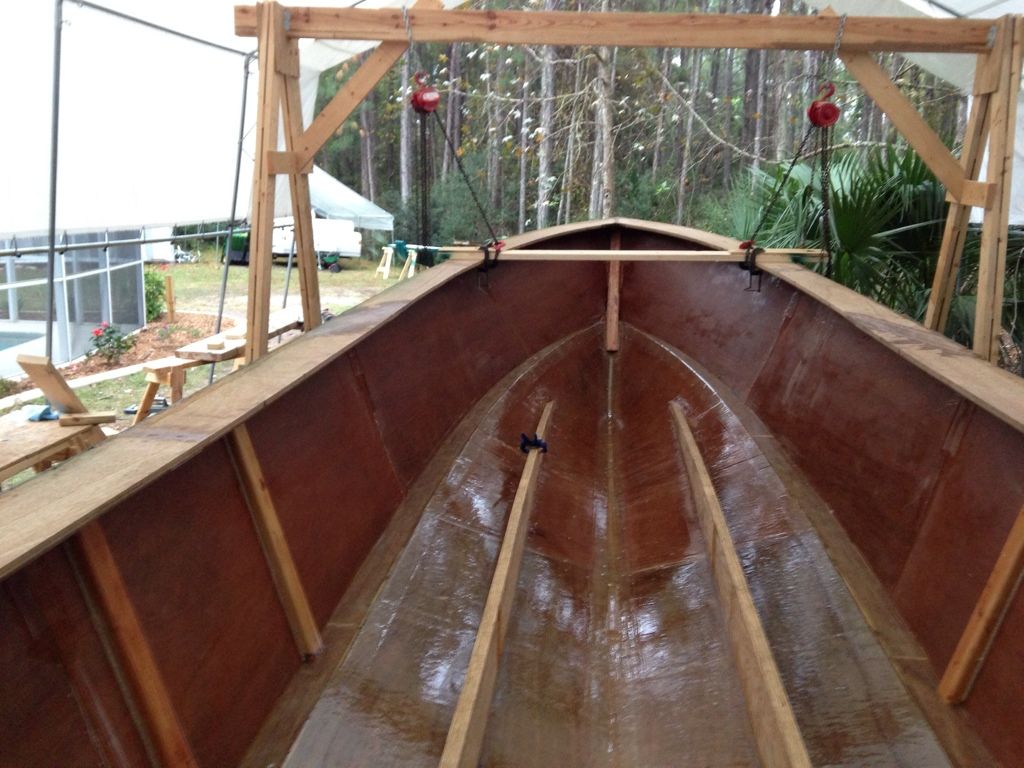
Got it flipped over last week with 4 chain hoists.


4
I will need to drill at least two holes through the stringers for the fuel fill / vent.  Will i need sister boards around those?  If so, what size should they be?  I also have some 1/2" aluminum plate i could use instead of plywood.

5
I read over the manual and it does not appear so... I did run a heavy bead of PL premium on the seam between the shelf and side panels and along the side panel supports (ribs?) and side panels.

6
I am building a 28 foot GA.  Mine will have a 30 inch outboard bracket with swim platform.  Should i get a 25 or 30 inch shaft motor?  I may buy a motor next week at the Ft Lauderdale boat show.

Here is my bracket

7
Yesterday I finished sheathing in the entire hull.  2 1/2 months from the start, I am pretty happy with the progress.  I will take some pictures of the hull later today and post.

8
Hey Brian,

I have the bottom panel all finished, and I am ready to install the shelves, transom, etc on the jig.  I used the 2x4's for clamping as required.  However, when I sight down the chine flats from the transom, I see a few waves.  On one side there is a nice wobble, too (makes a quick down and up over a span of about 5 inches.)

I will try to straighten this out when I install the side panels later, but with both side of the chines fiberglassed, I dont think it is going to move much.  Is this going to be a problem?  I will try to get some pictures, but it is hard to see with a camera....

The "waviness" is about halfway up the chines, right around where they start the upturn .

9
Do you fill all the fiberglass layups with epoxy, after the initial wet out, of course.

I just fiberglassed the entire bottom and put in single coat of epoxy.  A few hours later, I put in a heavy fill coat, and it is nearly like glass.  Should I put another fill coat like I would if this was the exterior hull, or leave it since it will be basically unseen?  How many coats over the glass does it take to make it waterproof?

I guess my question is, do you need to apply multiple fill coats of epoxy to everything that is glassed in order to waterproof?  Or is it basically to make it look much nicer in the areas that will be seen, faired and painted? It the first wet out coat enough for structural integrity?

10
This is a brief photo status of the build....

11
Well, I have to loft out and cut my bottom panels tomorrow, and then make the chine flats.  Then I will be ready to start assembling the hull.

I finished cutting out the transom today.  That is one solid, heavy transom!

Another couple of days and I should be glassing the bottom panels and then jigging up the hull pieces upside down!

How on earth can I move these bottom panels around?  They are 28 feet long!

12
On the pictures of that beautiful boat of Adrian's, what is the purpose of the "sponsons" in the back and having the motor tucked in between them like that?  I have never seen anything like it, except of course the good ole' redneck pontoon boat party barge!

13
tried to upload some pictures,,,says "The maximum attachment size allowed is 1024 KB."

i am trying to put some pics on that around 50-80 kb each....nowhere close to 1024...any ideas

14
well, the shelves are finished, all i have to do today is flip them over and put a layer of glass at the joint on the backside.  they fill up my entire shop!

i changed the build procedure slightly....i built the forward shelves per the book and cut the 168" AB line, this was actually a 16 degree angle.

then i build the rear shelves....what i did was i just laminated the stock and overlapped the joints by six inches and made them around 20 feet long each (two 8 foot sections and then a 4 foot)
after that, i cut a matching 16 degree angle on the forward end of the rear shelf, drew some layout line on the shop floor and glued them together.  So basically, the shelves were made in two sections, forward laminated with six inch overlap, rear laminated with 6 inch overlap, the giant "scarf" cut at 16 degree and glued them up.

by the way, is it normal to have to use SO MUCH silica to thicken up the epoxy?  it seems to take a lot!  like four ounces takes 5-6 HEAPING teaspoons of silica to start getting it thick, then maybe a little more.  how about some wood flour thrown in there?   would that weaken the glue substantially?
will post some pictures of the shelves in a little while.

15
I made the shelves 8 inches wide.  After some math and figuring, I came up with a list of new inner lines for the lofting of the shelves.  I am sure Brian could have done this in 30 seconds and been more accurate, but I have been bothering him enough.  These new inner lofting lines worked great, with the only issue being that I had to add a place at the first 6 9/16" station for the inside nail, since it was going to be off the template material.

Otherwise, the shelve is 8"  +\- maybe an 1\8" max along the entire curve.  Turned out great!

I used two ways to extrapolate the numbers, first was a simple ratio, the second was percentages.  Both ways yielded the same exact number for me.  Feel free to fine tune if they are not correct.

Pages: [1] 2